Table of Contents
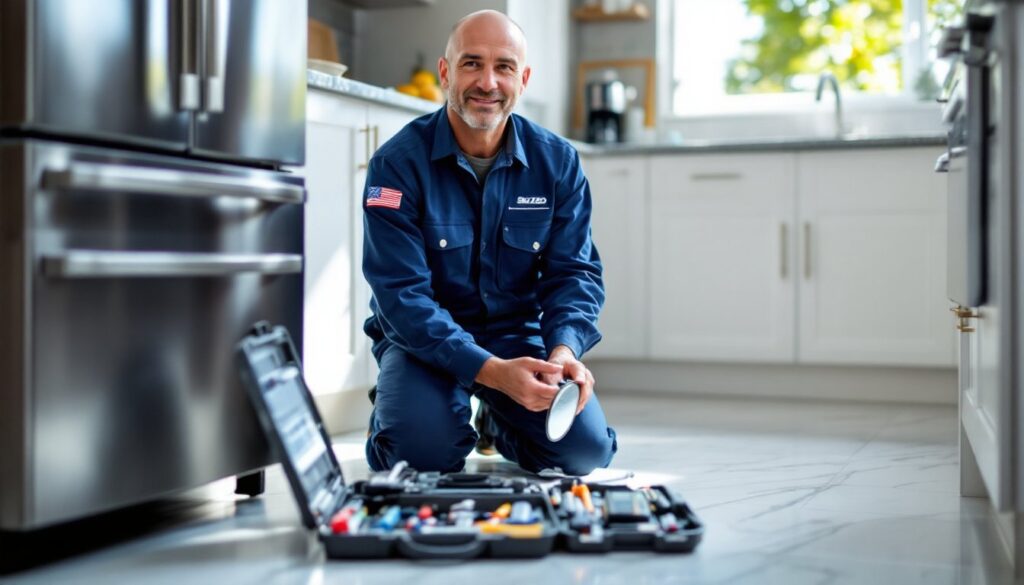
ToggleSub Zero refrigerators are known for their reliability and premium performance, but even the best appliances can develop issues over time. Whether you’re dealing with inconsistent temperatures, a noisy compressor, or an ice maker that’s gone on strike, knowing how to diagnose and address these problems can save you hundreds of dollars in service calls. This guide walks through the most common Sub Zero refrigerator problems homeowners face, which repairs you can tackle yourself with basic tools, and when it’s time to call in a certified technician. You’ll also learn preventive maintenance steps that’ll keep your unit running smoothly for years to come.
Key Takeaways
- Sub Zero refrigerator repair costs can be minimized by tackling DIY fixes like cleaning condenser coils, replacing door gaskets, and resetting control boards, while avoiding sealed system work that requires EPA certification.
- Temperature fluctuations and ice maker malfunctions are the most common issues; start troubleshooting by checking door gasket seals, cleaning coils every six months, and verifying water supply line connections.
- Never attempt refrigerant leak repairs yourself—federal law requires certified technicians to handle refrigerant, and professional sub-zero refrigerator repair typically costs $150–250 for diagnosis plus $125–200 per hour for labor.
- Preventive maintenance extends Sub Zero appliance life to 20+ years by implementing quarterly coil cleaning, biannual filter replacements, and annual inspections of water lines and door alignment.
- For complex issues like compressor failure or persistent error codes, contact factory-certified Sub Zero technicians who have access to manufacturer parts, technical bulletins, and diagnostic software that independent shops lack.
Understanding Your Sub Zero Refrigerator and When to Seek Repair
Sub Zero units differ significantly from standard refrigerators. Most models use dual refrigeration systems, separate compressors and evaporators for the fridge and freezer compartments. This design maintains optimal humidity levels and prevents odor transfer, but it also means troubleshooting requires a different approach than conventional appliances.
Before attempting any repair, identify your model number. It’s typically located on the upper right interior wall or inside the door frame. Models manufactured after 2000 often feature electronic controls and digital diagnostics, while older units rely on mechanical thermostats. This distinction matters when you’re diagnosing issues.
Most homeowners can handle basic tasks: cleaning condenser coils, replacing door gaskets, or resetting control boards. But Sub Zero refrigerators contain sealed refrigeration systems that require EPA-certified handling of refrigerants. If you suspect a refrigerant leak (evidenced by a chemical smell or frost buildup in odd places), stop and call a professional immediately.
Safety first: Always disconnect power at the circuit breaker before inspecting internal components. These units draw 15-20 amps, and working on live circuits risks serious injury. Keep a flashlight and a camera handy to document wire connections before disconnecting anything, you’ll thank yourself during reassembly.
Common Sub Zero Refrigerator Problems and DIY Solutions
Temperature Fluctuations and Cooling Issues
Inconsistent temperatures are the most frequent complaint. Start by checking the basics: ensure the unit isn’t overpacked, which blocks airflow, and verify that door gaskets seal properly. Close the door on a dollar bill, if it pulls out easily, the gasket needs replacement.
Condenser coils are the next culprit. Located beneath the unit or behind the front grille (depending on your model), these coils collect dust and pet hair, reducing efficiency. Pull the refrigerator away from the wall, unplug it, and use a coil brush (available at any hardware store for around $8-12) to clean them. Do this every six months if you have pets, annually otherwise.
If cleaning doesn’t resolve the issue, check the evaporator fan. Open the freezer and listen, you should hear a subtle whirring. No sound? The fan motor may have failed. Accessing it requires removing interior panels (consult your model’s service manual, available on Sub Zero’s website). Replacement fans cost $60-150, and installation takes about an hour if you’re comfortable with basic wiring.
Control board glitches can also cause temperature swings. Try resetting the unit: flip the circuit breaker off for 30 seconds, then back on. This clears minor electronic hiccups. If the display shows error codes, write them down, they’re essential diagnostic information for a technician.
Ice Maker Malfunctions and Water Dispenser Problems
Ice makers fail for several reasons, most of them fixable. First, verify the water supply line is connected and the shut-off valve (usually behind the fridge) is fully open. Check for kinks in the supply line, they restrict water flow.
If water reaches the unit but no ice forms, inspect the ice maker assembly. Remove the ice bin and locate the fill tube (a small copper or plastic pipe). If it’s frozen, use a hairdryer on low heat to thaw it, never use sharp objects, which can puncture the line. Once thawed, insulate the area with foam pipe insulation to prevent recurrence.
Water dispensers that dribble or don’t work often have clogged filters. Sub Zero recommends changing filters every six months, but hard water areas may need quarterly changes. The filter housing is typically in the upper right interior: twist counterclockwise to remove. Flush the new filter by dispensing two gallons of water before use.
For ice that tastes off or smells strange, the issue is usually old ice absorbing freezer odors. Empty the bin, wash it with baking soda solution, and let the unit produce fresh ice. If the problem persists, the water filter is spent or you have stagnant water in the supply line. Many appliance troubleshooting guides recommend running a vinegar solution through the system annually to prevent buildup.
When to Call a Professional Sub Zero Repair Technician
Some repairs require specialized tools, knowledge of sealed systems, or manufacturer-specific parts. Call a certified technician if:
- You hear loud clicking, grinding, or knocking from the compressor. These sounds indicate mechanical failure, and compressor replacement isn’t a DIY job. Expect costs between $1,200-2,500 depending on the model.
- The unit won’t power on at all. While it could be a tripped breaker or failed outlet (test with a multimeter), it might also be a fried control board or internal wiring issue.
- You see refrigerant leaks. Oily residue near coils or hissing sounds mean refrigerant is escaping. Federal law requires certified technicians to handle refrigerant, this isn’t about skill level: it’s about legal compliance and safety.
- Error codes persist after basic resets. Sub Zero’s diagnostic codes often point to proprietary components that require factory parts and calibration tools.
- The unit is still under warranty. DIY repairs can void coverage. Sub Zero warranties typically cover parts for 2-12 years depending on the component and purchase date.
When searching for “sub zero refrigerator repair near me” or “subzero refrigerator repair near me,” prioritize factory-certified technicians. Sub Zero maintains a network of authorized service providers who’ve completed manufacturer training. These techs have access to technical bulletins, genuine parts, and diagnostic software that independent repair shops lack.
Costs for professional sub-zero refrigerator repair vary widely by region and issue complexity. Typical service calls start at $150-250 for diagnosis, with labor running $125-200 per hour. Parts are additional. Platforms that connect homeowners with vetted repair professionals can provide multiple quotes, helping you compare options before committing. Always ask if the technician stocks common Sub Zero parts on their truck, waiting weeks for backorders extends downtime.
Maintaining Your Sub Zero to Prevent Future Repairs
Preventive maintenance extends appliance life significantly. Sub Zero units routinely last 20+ years with proper care, far beyond the 10-14 year average for standard refrigerators.
Quarterly tasks:
- Clean condenser coils (more frequently in dusty or pet-filled homes)
- Inspect door gaskets for cracks or tears: clean them with mild soap and water
- Check interior drain holes for clogs (located at the back of the fridge compartment): flush with warm water
Biannual tasks:
- Replace water filters, even if the indicator light hasn’t triggered
- Test door alignment: adjust hinges if doors don’t close smoothly (gravity should swing them shut from a 45-degree angle)
- Vacuum the rear grille and surrounding floor area
Annual tasks:
- Inspect water supply lines for brittleness or cracks: copper lines last decades, but plastic braided lines should be replaced every 5-7 years
- Clean interior with baking soda solution (avoid harsh chemicals that damage food-safe surfaces)
- Check the drain pan beneath the unit: clean if necessary
Keep your Sub Zero at proper temperatures: 38°F for the refrigerator, 0°F for the freezer. Use an appliance thermometer to verify, built-in displays can drift out of calibration over time.
Avoid overloading shelves. Sub Zero’s high-density shelving can handle weight, but blocking air vents (usually along the back wall) forces the compressor to work harder. Maintain at least an inch of clearance behind items on back shelves.
Document all maintenance and repairs in a notebook kept near the unit. Record dates, what you did, and any parts replaced. This log is invaluable when diagnosing recurring issues or selling your home. Many home maintenance platforms offer digital tracking tools if you prefer electronic records.
Consider a surge protector rated for large appliances (minimum 2,000 joules). Power surges from storms or grid fluctuations can fry control boards, and replacement boards cost $300-600 plus labor. A $40 surge protector is cheap insurance.
Conclusion
Sub Zero refrigerators represent a significant investment, but they’re built to last when properly maintained. Many common issues, temperature fluctuations, ice maker problems, and minor cooling inconsistencies, fall within the DIY repair range for homeowners comfortable with basic tools and troubleshooting. Knowing your limits matters, though. Sealed system repairs, refrigerant work, and complex electronic diagnostics require professional expertise and specialized equipment. By staying on top of routine maintenance and addressing small problems before they cascade, you’ll keep your Sub Zero running efficiently for decades.